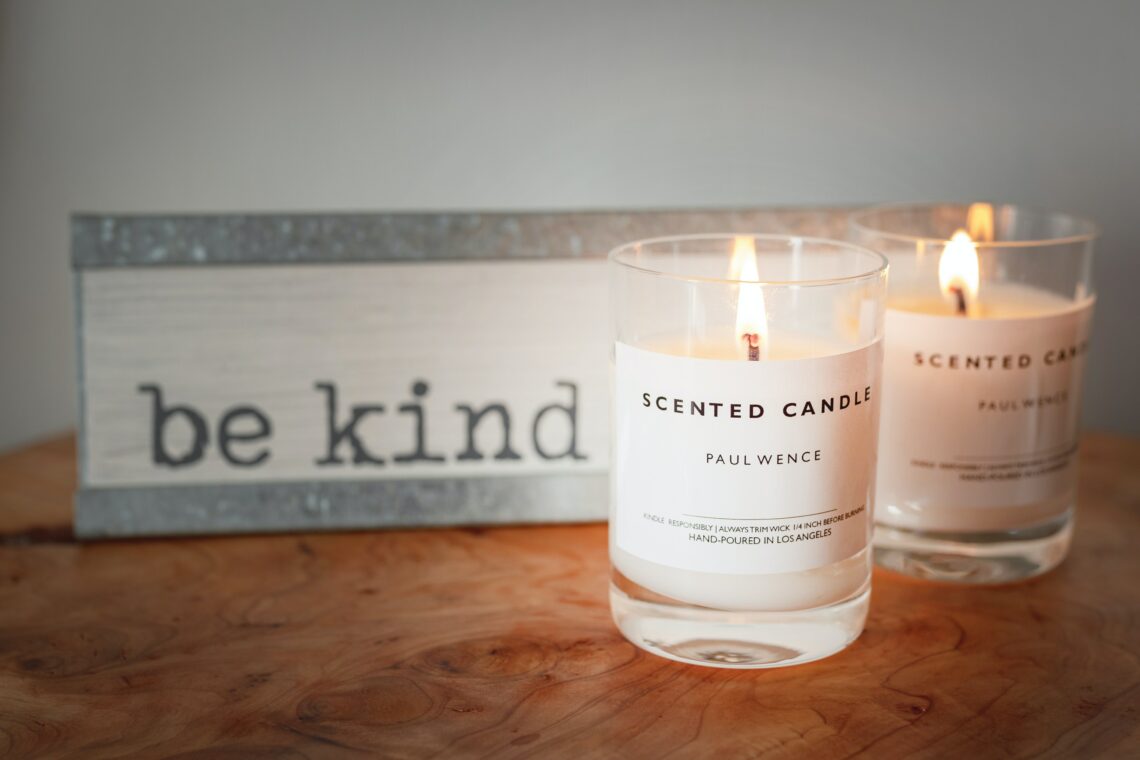
DIY Candles
Candles were used as early as 3000 BC in Ancient Egypt for light. Today, candles evoke a mood, symbolize celebration, mark romance, and accent décor. All sorts of candles can mean different things. There’s no need to desperately search for that ideal candle anymore… we will actually help you make it!
YOU WILL NEED :
- PARAFFIN WAX
- SCENT: herbs, spices, flavourings (a good combination is vanilla and nutmeg).
- COLOUR: Food colouring/ ink.
- WICK: Dip cords or heavy string into warm wax and allowing to dry on a sheet of wax paper.
- MOULD: This is what you will pour the hot wax into. Cans, glass and hard plastics work great for simple molds.
- WAX CARRIER: A wax carrier is what you will use to heat the wax in as it melts. you can use a saucepan filled with water, placing the actual wax into a tin and then into the water for heating.
- COOKING THERMOMETER… this is different to a medical thermometer.
- OIL: You’ll need this to ensure that you can safely. remove the hard wax from your mould without damaging your candle. Cooking oil will work.
- PENCILS: You’ll need one of these for each candle you’re constructing as a wick holder.
- WOODEN SPOON: For stirring wax.
- SCISSORS: To cut the wick.
- DECORATION: This is the best bit: you can add things to your wax for decorative purposes like Leaves, herbs, beans anything really… use your imagination.
NOTE: NEVER OVERHEAT WAX. FUMES FROM OVERHEATED WAX CAN CAUSE SEVERE ILLNESS.
HOW TO MAKE THE CANDLE
- Heat your wax carrier slowly to the proper temperature, placing the unmelted wax into your carrier. Heating the wax to a temperature of 60 degrees celsius is generally sufficient for all forms of Paraffin.
- As the wax is in the beginning stages of melting, spray the inside of your moulds with the oil and set them aside in an area where it’s safe to pour the wax.
- Stir your melting wax gently with a wooden spoon.
- Once the wax has completely melted, you can add to it anything that you’d like. This is the proper time to add scents and colouring (No more than one teaspoon of oil or herbs is usually necessary.). Gently stir the wax for a few moments, allowing the colour to blend and the scent to mix.
- Using a hotpad, lift your wax carrier out of the water and pour slowly into your moulds. Do not fill to the top. Leave at least a one-inch margin on the top of each mould.
- As your wax is hardening, get your wicks, tying one end to the middle of a pencil. Slowly drop the free end of the wick into the wax, and rest the pencil on top of the mold. This will prevent your wick from falling into the wax as it’s hardening.
- It will take several hours for your wax to harden to the proper consistency. We recommend allowing your wax to harden overnight before attempting to remove your candles from their moulds. Once the wax has hardened, you should be able to tip your mold upside down, allowing your new candle to slide out freely.
And there you go, you’ve just made your first candle!
Safety guides:
Never leave a burning candle unattended
Keep candles out of the reach of children and pets
Keep candles away from drafts, vents and flammable objects
Extinguish a candle that smokes
Keep matches and other debris out of the candle
Extinguish the flame if it burns too close to the container or holder
Do not move a glass container when the wax is liquid.
Photo by paul wence from Pexels


